How to paint your new home: DIY painting guide
Painting a room doesn’t have to be complicated. If you take the right steps then you can finish a room in about a day, elevating your home design without breaking the bank.
To help your home get it’s fresh new look without streaky paint patches, we have compiled our best DIY painting tips, to help gve your home a professional look and feel.
Our Step-by-Step DIY Painting Guide
Step 1 – Selecting the right colour for the room
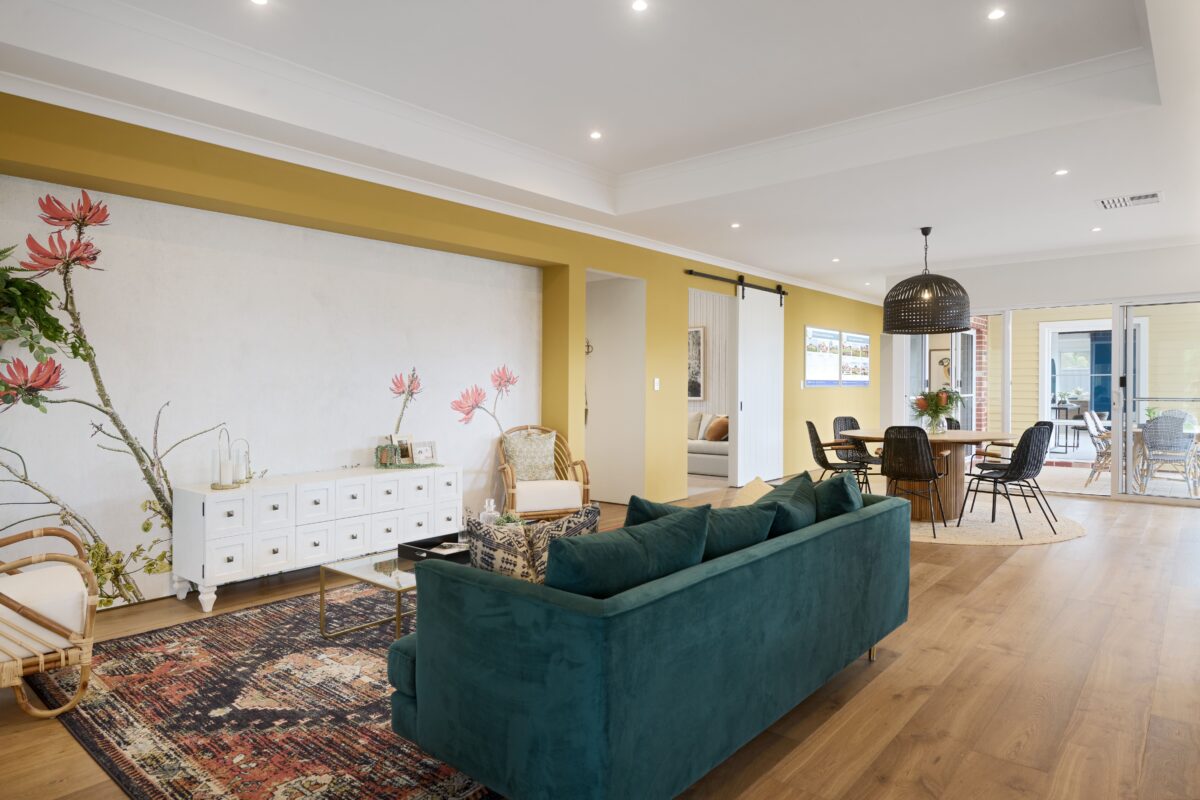
The first step for DIY room painting is to select a colour, or colours for the room. The colours that you select should be based on the function of the room and your preferences. A good idea is to select a colour or a combination of colours by using colours from your bedspread or from a piece of art that will be hanging in your room. You may also want to browse through paint samples to find a colour that you like. Also, keep in mind how much light the room gets during the day – a room that doesn’t receive a lot of light will go better with a lighter colour to avoid dark unwelcome rooms.
Step 2 – Select a paint finish
After you have selected a paint colour your next step will be to select a paint finish. There are several paint finishes that you can choose from.
These include;
- Matte
- Eggshell
- Flat enamel
- Satin
- Glossy finishes
Matte and flat enamel don’t have shine and they are great for covering imperfections on your walls, however, they aren’t washable. Eggshell and satin finishes have a semi-shine and they are washable. Glossy finishes are very shiny, they are washable, and they are very durable, however, they are not typically used for wall paint. When deciding which paint finish to select, consider the design of your home, whether that be farmhouse or a granny flat.
Step 3 – Measure your room
Now that you know what paint product that you want to use you next need to know how much you will need. To figure this out you need to measure the dimensions of your room. Measure the height of your walls, and the widths. Then add the square footage of each wall together to get the total square footage that you need to cover. Take this measurement with you when you shop for paint. Each paint container should tell you how much it will cover. If you’ve recently built your home or are fortunate enough to have the plans, take them along to the paint centre with you.
Step 4 – Prep your walls and the room
Before you paint your walls you need to prep them. Start by filling in holes and wiping them down. Allow the patches to dry and give them a light sand, the filler you use will recommend which grade of sandpaper is best.
Once your walls are smooth, you’ll need to wipe down all the spaces to remove dust and dirt. Sugar soap and a sponge mop is the easiest way to do this, and it doesn’t take long to dry. Once dry, tape off wall trims, cornices, door frames, window frames and light switches using painter’s tape (usually blue). This is a special tape in that it won’t peel off the paint when you remove the tape, though it does help to still remove it slowly. It’s also a good time to cover your floor. If you haven’t installed your floors or carpet yet, it doesn’t matter if you get paint on the slab, just be wary of carrying paint on your shoes.
Step 5 – Prime your walls (Optional)
It is a good idea to prime your walls before you paint them. This will help the new colour stick to the wall better, and it will help reduce the number of coats needed to cover the wall. Primer is a special type of paint. It produces a much different result than if you just use regular paint as a base coat.
Step 6 – Paint your walls
It’s time to give your current home design a fresh new look! After your primer has dried you can paint your walls. If you have flat walls then a roller will work well for applying the paint. However, if you have textured walls then you will probably want to use a paintbrush. This will help to reduce splatters and mess. After your first coat dries you will want to touch up areas that are spotty.
Step 7 – Add trim
If you want your room to have a professional look then you will want to add trim to your room after you paint the main colour. Trim can be mouldings or wallpaper border. It can also be a paint technique.
Here are a couple of extra tips which may help with your project
- Take your time with prep work, the best painters will put a lot of time into making sure everything is neat and ready for a display home finish.
- If you are painting over a number of days and using the same colour, instead of washing your brushes each day and wasting water, wrap them up in Glad Wrap or plastic bags each night. This will keep them moist so you can start painting straight away.
- Wear clear safety glasses when painting – paint in the eye can be quite painful and can potentially cause a lot of damage.
- There’s no need to purchase the ‘Rolls Royce’ of paint brushes, but don’t compromise on the equipment you use either. Cheap brushes will leave bristles in your paintwork and be less comfortable to work with – it’s not fun painting with blisters!
- To add character and personality to a room, consider adding a feature wall or the use of stencils and pinstripes. Painting with items such as sponges can also add a lot of character to a feature wall and is very cost-effective.
- Despite being called odourless, many paints do still emit an odour so you may find it best once you’ve finished to close the door and leave the window open to let it air out before moving everything in.
- If you have bulky furniture, it’s often best to move the furniture in and cover it with plastic and drop cloths to avoid damaging your walls with fresh paint when moving in.
Looking for inspiration?
Know you need a fresh coat but not sure what finish or colour would look best? We have an extensive online library filled with images of our award-winning home designs.

